Search our content library
workstreams.ai Kanban board
Not to be mistaken for that sticky-note bulletin board in your office, a workstreams.ai kanban board gives you an instant real-time overview of work in progress based on relevant channel discussions - making it simpler, more timely, and more structured than competitors.
In the web application
Even more importantly, the Kanban board provides the perfect complement to the Slack and Microsoft Teams apps. Whereas the Slack and Microsoft Teams apps allow you to work on the task level, the Kanban board lets you see the overall view of all your projects, all your tasks, and how each is progressing from left to right across your board, that is, towards completion which is what it is all about.
Task Time allocation and GetStuffDone index
Our time allocation feature works in a way that is following along while you work on the task, reach milestones and keep track of the time spent in each step. For example, if you employ a simple feedback loop process, with "in progress" and "in review" steps, we measure the time that this particular task spends in each step, and show a glanceable snippet of that information right on the task. As work progresses to eventual successful completion, we store the data on how long it took for the task to be completed.
Our GetStuffDone index works in combination with the time allocation feature. The information from the time allocation feature is used to "grade" each subsequent task as to whether it falls "over" or "under" the average task completion time. A simple mechanic that allows teams to compare their work within the same areas and quickly evaluate whether something needs to be changed.
Here is how to use them both!
In the web application
* An overview of all tasks' GSD index can be visualized with a single click. Our "Time allocation mode" view of the taskboard, allows your team to simply glance at the work ahead and instantly know where the current bottlenecks are.
* Pressing the button on top, overlays tasks on the board with a set of hues, ranging from pale green to bright, burning red. In the corner of the task-cards is the GSD index, providing a quantitative indicator of how this task is doing. The idea is that these two visual cues work together, and allow team members to have an instant idea of where work stands, what is working well, and what might turn sour if left unattended.
Select multiple taskboards in a single view
To get an outline of the state of multiple projects in a single view, you can load two or more taskboards at the same time. This is how you do it:
In the web application
- In the navigation panel on the left, under the Taskboards section, toggle the Taskboard selection to "Multiple".
- Select the taskboard you want to have in a single view
Notifications system
Our notification system allows you to get timely and important updates right inside the workstreams.ai application. The bell conveniently shows you the number of new notifications you have and clicking on it reveals the feed. You can get updated on changes to tasks you are assigned to or are following, messages in tasks chats where you participate, and updates on tasks you follow.
You can edit your preferences and settings and adjust the notifications so it meets your needs precisely. Here is how to do it:
In the web application
- Click on the notification bell.
- Clicking on any notification brings you over to the tasks in question. A highlight hue points you to the direction of the update.
- Clicking "Clear all" removes all updates.
- Clicking on the 3dot menu allows you to customize your notifications.
Using our in-app calendar
You can now visualize all your tasks that have due dates and due times on a calendar! Our calendar offers a monthly, weekly, and daily view of your agenda. Completed tasks are marked as so, as well as tasks past their due date. You can also tweak it to show you your subtasks too! Here is how to use it:
In the web application
- Navigate to any taskboard with tasks with due dates on them
- Click on the calendar icon on the top
- You are now seeing the calendar interface.
- You can choose between monthly, weekly, or daily view
- You can navigate between times with the buttons on the left.
TIP–You can create tasks straight in the calendar view! Just as you would create a calendar event, simply click on a preferred time/date and the task will automatically have the due dates assigned.
Editing the workstep
You can manage & edit your worksteps right on the taskboard. This comes in handy when you want to quickly change the name of a particular step, add ownership or add a description.
In the web application
- Open the taskboard in which you would like to make changes.
- Click on the gear icon next to the workstep you want to edit.
- A modal appears
- Edit the title, and description, or add an owner to the workstep.
- In the automation tab, you can add auto-assignees and also set up task forwarding.
TIP –You can also edit the title of the workstep by simply clicking on the name in the column.
Customizable worksteps
workstreams.ai kanban boards work best when their worksteps are named and arranged in a way that best reflects the real-life steps that your team takes to get work done. We have given you the flexibility to set things up in exactly that way.
One of the most powerful features of the Kanban board is the ability to customize the worksteps. planned, as well as the last step: completed. Everything in between is up for discussion. Every team tends to have its own unique process. With this in mind, the in progress steps between planned and completed are completely customizable.
TIP – You can add up to 15 steps between planned and completed. Amazing!
In the web application
For example, let’s revisit our Recruit Programmers task in our #recruit-development-team taskboard. What does it take to get this task to completion? In a larger company, there are typically several steps, such as:
- Prepare Qualifications List.
- Notify Recruiters in HR.
- HR Posts Recruitment Ads.
- Review CVs.
- Choose Interview Candidates.
Customizing your Kanban board to reflect these steps takes seconds. What? Yes, that is not a typo. You can set up an entire process in a project in mere seconds. Here are the steps…
Customizing “In progress” steps
- Go to the taskboard on your Kanban board. For example: #recruit-development-team.
- Click the gear icon
- Replace "In Work" with "Prepare Qualifications List."
- Click the + Add new step button directly below "Prepare Qualifications List." A new step is added.
- Replace "Name of your work step" with "Notify Recruiters in HR."
- Click the + Add new step button again and add: "HR Posts Recruitment Ads."
- Click the + Add new step button again and add: "Review CVs."
- Click the + Add new step button again and add: "Choose Interview Candidates."
- Press the Save button. Like magic, you now have a 5-step process for recruiting the personnel you need for your project.
TIP–Notice that the HR department needs to get involved here. Just add the necessary people from HR to your #recruit-development-team and then you can assign them to tasks 2 and 3.
Limit the number of visible tasks per column
A large number of tasks within a column on your Kanban boards can become unwieldy pretty fast, especially when you're in a highly productive team with bit outputs. We have added a little feature in the app that allows you to hide a specific number of tasks under a reveal button, so you can tidy up a bit! Here is how to do it:
In the web application
- Navigate to the taskboard on which you want to set up some task visibility limits.
- Click the gear icon next to the column title.
- The worksteps setting menu opens.
- At the bottom of the Properties tab, there is a toggle to switch the limiter on.
- Input the desired number of tasks you want to be displayed on that column.
- Click away to save.
Taskboard templates
We know that many internal procedures are similar in many workplaces. To save you time, we have created essential templates that reflect these procedures - leaving you free to start with more than just a blank slate, but still able to edit things to fit your company’s needs.
In the web application
- Go to the channel on your Kanban board #recruit-development-team.
- Click the gear icon in the upper-right corner of the channel lane. The Configure channel dialog displays.
- Note the Choose a taskboard template dropdown menu.
- Select your desired taskboard template.
- The graphic below previews what your taskboard will look like.
- Re-arrange and edit the columns if necessary.
- Click Save to use the taskboard template.
TIP–To use a taskboard template the "in progress" column of your taskboard must be empty, with no tasks on it.
Smart filters and color labels
The best part about sorting your tasks with colored labels is that you can then instantly pull up related tasks simply by filtering your board by the label’s name.
To help you narrow down what you are looking at, we provide smart filters. To help you visually identify related tasks, we provide color labels. We covered color labels earlier so let’s look at smart filters now.
In the web application
You access Smart filters in the upper-right corner of the Kanban board: in the search entry field that says "Type to filter tasks." This is a free-form entry field so you can just click on any text that you would like to filter. Or you can use attributes and modifiers. Click in the search entry field and you see all of the attributes and modifiers you can use to filter:
- assignee
- description
- due Date
- humanTaskId
- label
- status
- step
- title
Yikes! That’s a lot to remember. Don’t sweat it. Smart filtering is very smart. It autocompletes as you type. Let’s look at a few examples.
Using smart filters to display a label
- Place the mouse cursor in the Type to filter tasks entry field in the upper-right corner of the window.
- Type the letter l (L as in labels). The labels attribute displays.
- Select labels:
- Type the letter r (R as in Recruiting). Auto-complete fills in "Recruiting" and all tasks labeled with "Recruiting" display.
Using smart filters on the web app to find an assignee
- Place the mouse cursor in the Type to filter tasks entry field in the upper-right corner of the window.
- Type "ass". Really! The word: assignee is displayed in the drop-down.
- Select assignee. In the entry field, assignee: displays.
- Type Joe Schmoe after assignee: All tasks assigned to Joe Schmoe display.
Using smart filters on the web app to find any text
- Place the mouse cursor in the Type to filter tasks entry field in the upper-right corner of the window.
- Type: "CV". All tasks with the text "CV" in them display. What? Only two steps. Well, it is that easy.
Frozen Tasks
The "Frozen tasks" feature is a great visual reminder of tasks that have been stuck or ‘frozen’ on your taskboard for a while. The idea is that this aids your decision-making on some tasks that perhaps need attention, to be archived, or are no longer relevant
In the web application
To enable the frozen tasks indicator on each taskboard, you simply need to use the on/off toggle on the top of every board. You will recognize it by the snowflake icon.
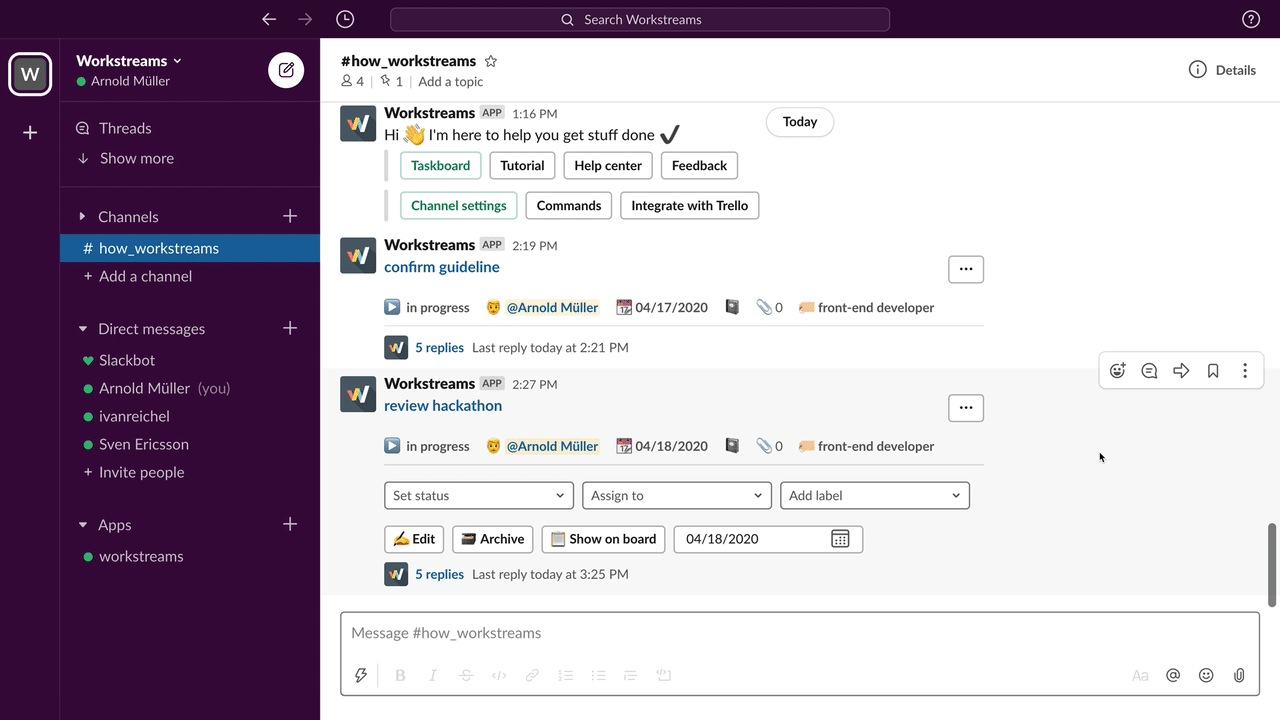
Configure the format of your task messages
The way you view workstreams.ai tasks in Slack can be edited based on what is most important to you - maximizing the information you see about each task, or minimizing the space that each task takes up in your channel.
— Full view — The tried and tested version, loved by our users. It caters to the “in charge” crowd, to the users that need full control of every aspect of the task. All the information about the task is unfurled, in plain sight. The title and description are in full view, along with all the controls one might need.
— Basic view — Get it down to basics. Block Kit enabled us to craft a message type that caters to those users who are in between. Those are the users who like some useful information and controls right at their fingertips without dealing with the clutter in the channel. For them, we’ve developed the basic view. It gives you the essential information about the task, everything you’d need to know, along with useful controls for setting due dates, assignees, and labels.
— Compact view — Things start to get compact! This format of our task message gives you and your teams the essentials only – nothing more, nothing less. By being only two lines long, it blends seamlessly into your channel’s communications. It provides the name of the task, its status, and info about any labels, due dates, or attachments. That’s it! Essential info without causing any distraction or clutter to your communication and work. Magical!
Of course, you and your team have total control over which format is used in your channels. Here is how to make changes:
In the web application
- Go to the taskboard you want to configure.
- Click on the gear icon next to the channel name.
- Click on Slack messages.
- Choose your preferred format from the provided options.
- Click on save
In Slack
- Go to the channel you want to configure.
- Type /workstreams and click Enter.
- Select Channel settings and a dialog will appear.
- Choose your preferred format from the dropdown menu. Easy!
Dark mode
A long-awaited feature is finally here. Our dark mode makes your workflows, taskboards, and goals easy on the eyes and comfortable to work with in the evenings. Here's how to turn it on:
In the web application
- Click on your profile picture in the upper-right corner
- Click the "Dark mode" to toggle the feature on and off.
Global Search
Looking for something? Our Global Search feature is capable of tracking everything under the sun, as long as it’s somewhere in your workstreams.ai team :). This feature acts as a compass within the app, enabling users to find any task, workflow, or team member within seconds. Our Global Search feature empowers users to find it all within seconds. Here is how to use it.
In the web application
- Press CTRL/CMD+K to focus on the search bar on top. Alternatively, simply click on the search bar
- Start typing your query.
- Watch as suggestions magically appear in the dropdown menu.
- Go where your search results take you!
Ensure an even more efficient workflow performance by locating your what you need without navigating through various boards or lists. No matter the complexity of the project, finding crucial elements is just a search away. And that's it! You can search for team members, tasks, workflows, goals, and more. Give it a whirl now.