Search our content library
Webhook integrations
APIs are cool these days. But even cooler are Webhooks. Webhooks are super-simple APIs that enable you to quickly set up real-time connections between applications. In other words, they put the Web in the World Wide Web. Recognizing this, we built a feature into workstreams.ai that auto-generates a webhook URL for you with a single command.
A programmer, or even a semi-technical person, can then build this URL into their own app or program. For example, let’s say you have a program that generates a list of 100 positions that are open in your company for the Recruiting Department. By programmatically using Webhooks, all 100 of these tasks can be created instantly in workstreams.ai.
In Slack
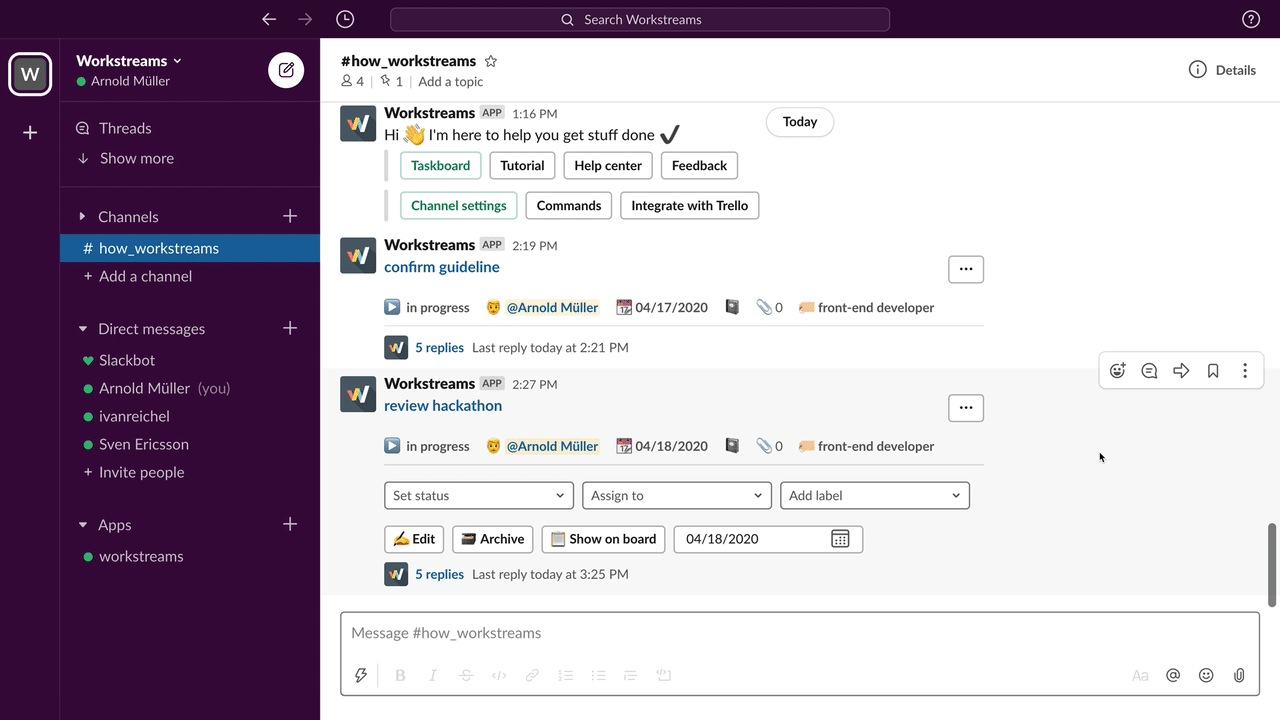
The process is so simple we don’t even really need numbers in our numbered list, but what the heck:
- Choose the channel in which you want to add tasks.
- Enter /workstreams webhook. Kaboom. Your webhook is created and the available parameters are listed (as explained below).
- Copy the URL into the program or app where you want to use it to auto-create tasks.
Using the webhook parameters
Here’s an example of a Webhook URL that is generated:
#https://our.server.url/webhooks/Q5CQ2LS4NI/tasks.create?title=Created+via+Webhook
This is a bit technical so put your propeller cap on. These are the elements of the URL:
- Q5CX2LS4NI - this funky number represents your unique webhook id and connects to the right channel, you can pretty much ignore it, just use it.
- tasks.create - indicates the program call on our server
- ? - indicates the start of the list of parameters (also known as name=value pairs)
- title =Created+via+Webhook - the first parameter which defines the title of the task that is created by this URL.
The title parameter is the only required parameter but there are two more optional parameters that you can add to the URL:
- description - lets you define a free-form text description of the task
- status - lets you define a status for the description, with valid values being: planned, in progress, and completed
Single channel guests
In Slack
Here’s how you set it up:
- Set up a channel for the individual from outside your company. That is, the guest.
- Enter: /workstreams login. A URL is generated for the guest. The web app opens with the standard login.
- Provide the URL to the guest that you want to join a channel.
The guest can then log in to a single channel and you are off to the races. And we have another convert to the world of workstreams.ai! Yes, you’re doing some marketing work for us but they’ll love workstreams.ai too so they will thank you.
Connecting workstreams.ai to your calendar
Connecting workstreams.ai with your calendar is an ideal way to both better visualize your due dates, and make it more clear to others when tasks assigned to you will be completed.
Get a clear look at where your upcoming tasks fit into your schedule - by putting all tasks assigned to you that have due dates right on your calendar! Getting your workstreams.ai tasks onto a calendar is a great way to plan and keep track of what needs to be worked on next.
In the web application
- Go to your My Tasks view on the workstreams.ai webapp.
- Click on the connect with calendar button to the right of your listed tasks.
- Select which type of calendar you would like to connect with workstreams.ai.
- Click to allow workstreams.ai to connect the selected calendar.
- Go to your calendar to see your tasks listed on the days that they are due.
TIP-Once the calendar is connected, you can go straight to your calendar from the same space on My Tasks where you first connected it. You can also disconnect and reconnect your calendar anytime.
Trello Integration
If your team is departing from using Trello, or if you just need to make some tasks created on a Trello board visible on a workstreams.ai taskboard, our Trello integration makes the process of auto-importing Trello tasks quick and painless.
In the web application
- Open the web app in your browser.
- Click on the Choose Sync with Trello board from the three-dot taskboard menu This launches a quick setup process.
- Check out all the details of the integration and click on Connect Trello.
- Choose the Trello board you want to sync to workstreams.ai.
- Hang tight while we do some magic in the background :)
- Click the Let’s go! button to close the dialog and go to your taskboard, now containing Trello tasks!
In Slack
- Navigate to the channel in which you want to integrate Trello.
- Type /workstreams to get to the help menu
- Click the Start connecting Trello button.
- You will be redirected to the workstreams.ai web app. Check out all the details of the integration and click on Connect Trello.
- Choose the Trello board you want to sync to workstreams.ai.
- Hang tight while we do some magic in the background :)
- Click the Let’s go! button to close the dialog and go to your taskboard, now containing Trello tasks!
TIP-You can only integrate a Trello board to a taskboard that doesn't have custom work steps.
Pricing plans
Free Plan
With the workstreams.ai Free plan, all workstreams.ai features are available for you to enjoy completely free of charge. The Free plan allows you to have a total of 3 members on your team. It’s also a great place to start if you’d like to test out the workstreams.ai application before adding more members to your team.
Pro Plan
When you’re ready to add more team members to your workstreams.ai team, you can upgrade to our Pro plan. Whether you’re using our stand-alone app, or combining it with our Slack or Microsoft Teams integrations, the price of our Pro plan is 7.99€ ($9.99) per user, per month. You also only pay for the users who actively use workstreams.ai each month - meaning you don’t have to do anything to add or remove users from your bill. In the event of no active users in a given billing cycle, there will be a minimum monthly charge of one active user (7.99€) per month.
Enterprise Plan
Do you have unique billing needs that we haven’t anticipated? No problem! That’s what our Enterprise package is for. Get in touch with us about how we can make our pricing plan better fit your organization’s unique requirements. We’re happy to help all companies, big and small, adopt workstreams.ai in the way that best fits their needs.
NGO Discount
Researchers and NGO employees benefit from an NGO Discount. If you’re part of a team that’s helping to make the world a better place, you qualify for a 50% discount on our Pro plan. Contact us today to get your discount!
All major credit cards are accepted.
Upgrading to PRO
- Open the workstreams.ai web app.
- Click ‘Upgrade to PRO’ in the left side panel.
- Choose whether you’d like to be billed Annually, Quarterly, or Monthly
- Enter the number of workstreams.ai users you’d like to add to your team
- Enter your credit card number in the entry field.
- Enter the month (MM) and year (YY) of expiry of your credit card.
- Enter the CVC number on your credit card.
- Enter your Zip code
- Complete your billing details
- Accept the terms and conditions and workstreams.ai privacy policy.
- Click on Purchase upgrade
How to give feedback
We don’t just talk the talk when it comes to user feedback. You can directly benefit from giving feedback to us. We take feature suggestions from our customers seriously - and are very likely to make changes that we recognize are in demand from our users.
We set up a way for you to give feedback on the workstreams.ai Slack app and the workstreams.ai web app. The web app even lets you see other feedback that has been given so that you can see if your suggestion or issue has already been reported. You can also comment on existing feedback or vote for existing feedback that you agree with.
In the web application
- Open the web app in your browser.
- Click Feedback in the bottom-left corner of the window. The most discussed feedback displays. You can review the feedback that has already been given, comment on it, and even vote on an item. But let’s assume you want to enter new feedback:
- Click the + Give feedback button.
- Select either Add new idea or Report a bug.
- Enter a title and description for the item.
- Enter your name and email. As the message on the screen indicates, your email will not be made public.
- Click the Submit button.
In Slack
- Go to any channel workstreams.ai is present in.
Type /workstreams.
- Click the Give Feedback button.
- Type in a Subject for your feedback.
- Type in your feedback. You can enter up to 3000 words.
In Microsoft Teams
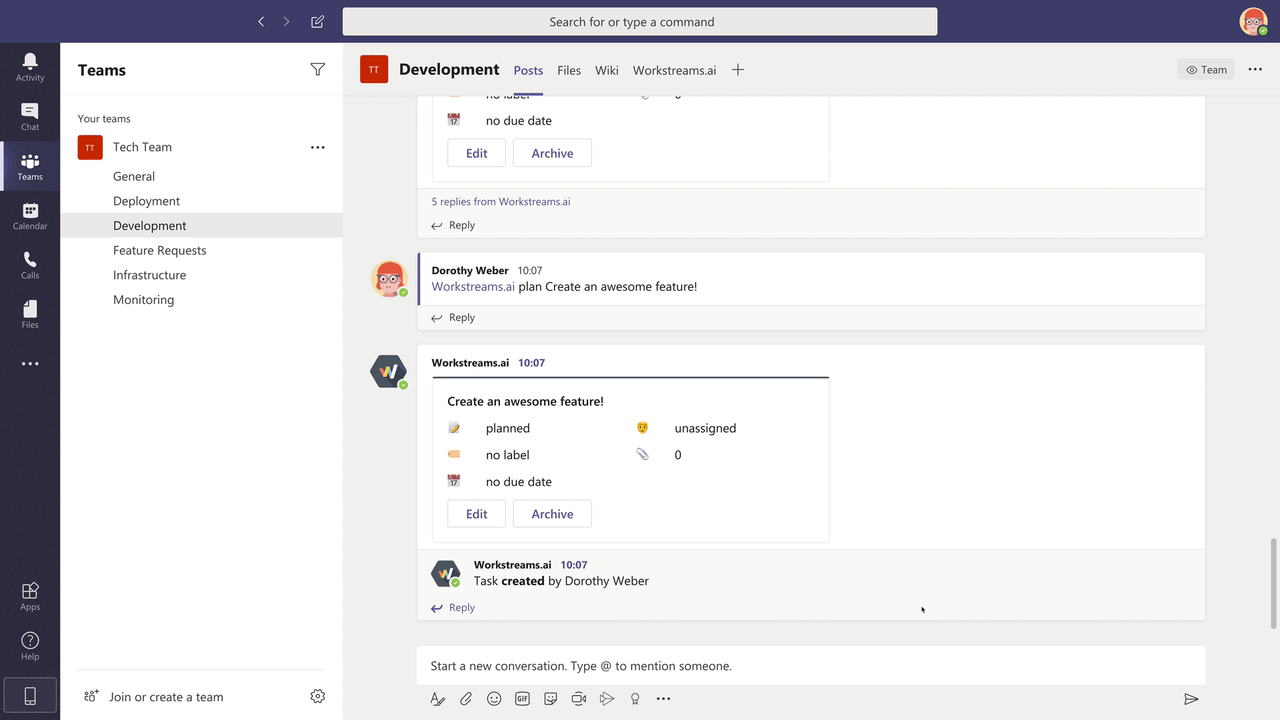
- Go to any channel workstreams.ai is present in.
Type @workstreams.ai feedback [Your feedback here].
- Press Enter
Installing the workstreams.ai progressive web app for desktop on Google Chrome/Microsoft Edge
Lower your tab count and keep workstreams.ai within clickable view by downloading our progressive web app on your computer.
Installing the workstreams.ai progressive web app for mobile or tablet
People accustomed to on-the-go task management will get the most out of workstreams.ai on mobile and tablets. Updating tasks is not limited to being seated in front of a desktop device. Our mobile and tablet users have fast access to real-time task updates from others.
For the best possible mobile or tablet experience, we have the workstreams.ai progressive web app. Use it for quick and convenient task management on the go! To install, just take the following steps.
On iOS
- Open Safari on your mobile phone or tablet and visit app.workstreams.ai
- Hit the share button on the bottom menu of the browser
- Scroll down and hit Add to Home Screen
On Android
- Go to the Google Play store on your mobile phone or tablet and search for workstreams.ai in the Apps section, or visit this link to go directly to the app page.
- Click the Install button located in the header